Matjaž Kljun
Associate professor at University of Primorska, Slovenia. Interested in Human-Computer Interaction (HCI) and all related playgrounds.


Uncategorized
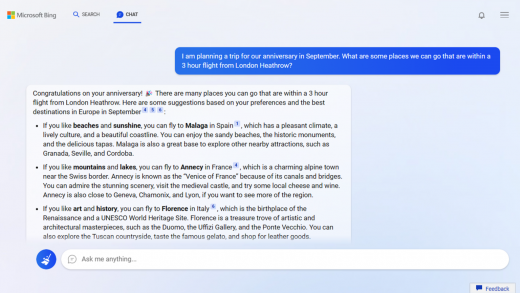
It’s an error! Enough said.
Uncategorized
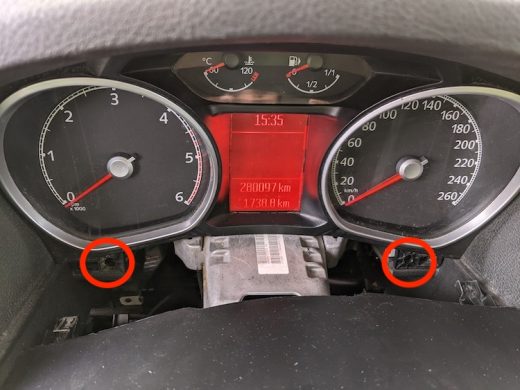
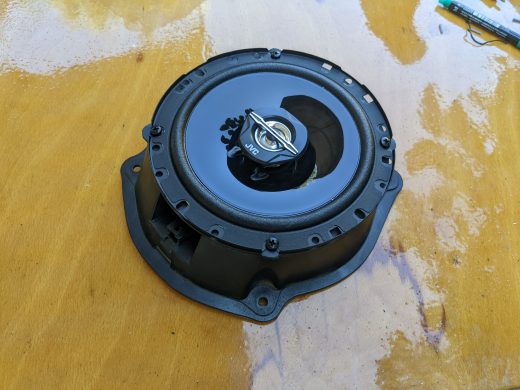
The steps needed for the task
Uncategorized
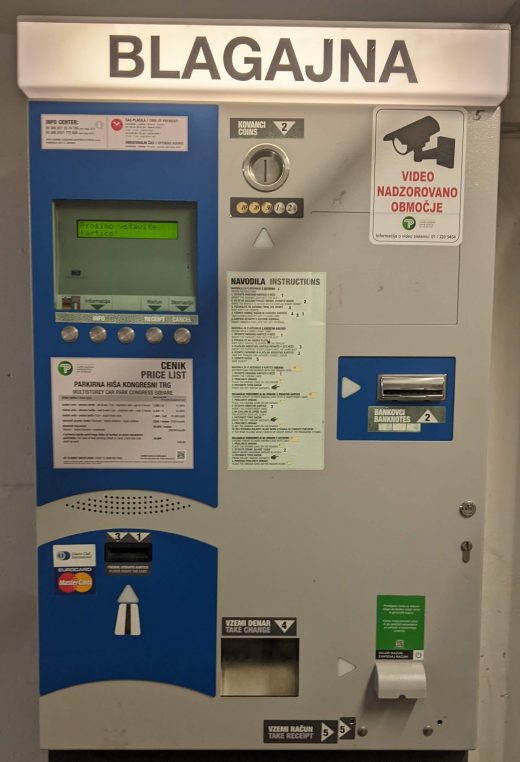
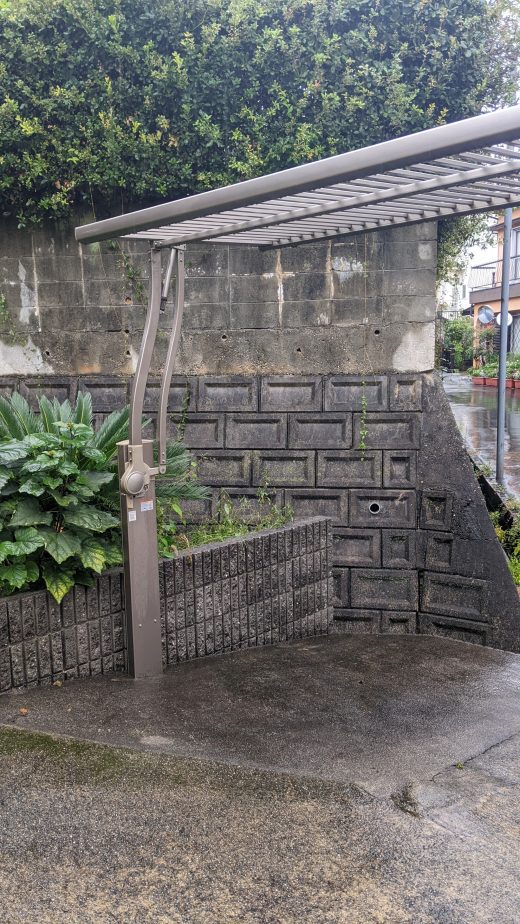
The lift-up overhead driveway gate

Uncategorized