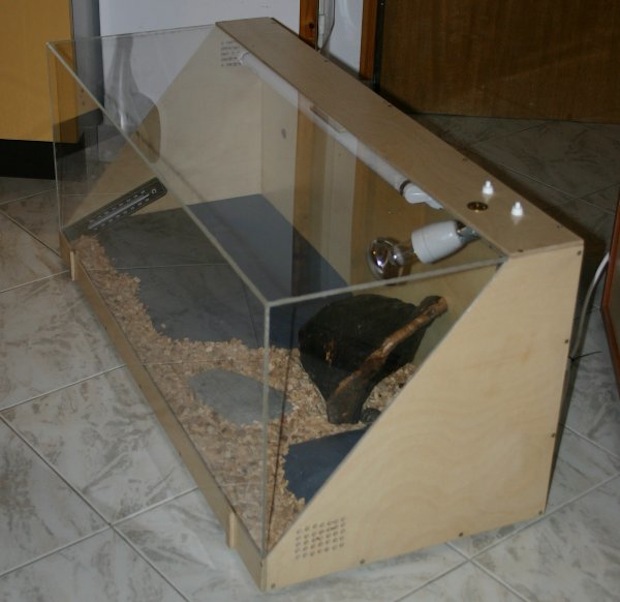
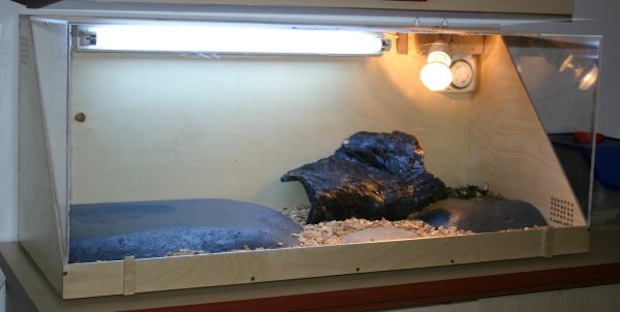
A while ago I made this terrarium which is sturdy, lightweight, nice looking (personal opinion) and still cheap to build (I spent cca. 100€). It wasn’t hard to build either, for someone with some experience.
Dimensions of this terrarium are 100x40x40cm. Rear and lower plates are made of 12mm waterproof plywood. While the top and sides are made of 6mm waterproof plywood. The cover is made of 4mm plexiglass. The dimensions of the terrarium and used materials can and should be changed to suit needs of future inhabitants.
The aims were: the final product should be reasonable lightweight, materials should be of good quality and animals (and people) friendly, while still be reasonable cheap.
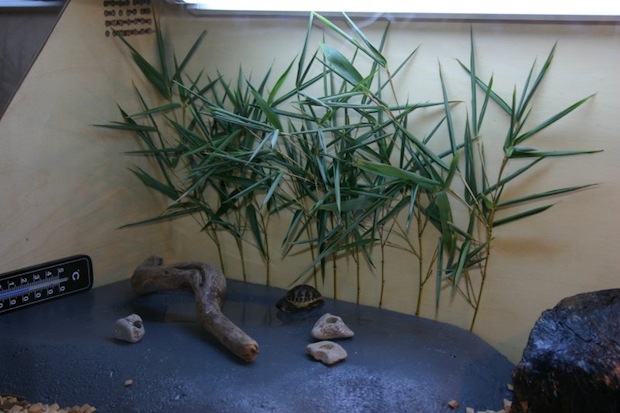
Before reading further, bear in mind that this terrarium was built to suit needs of my little Hermanni tortoises. It is used only for newborns during the first winter as otherwise my animals live freely in the (quite big) garden. While building your terrarium, you should think about what your animal(s) need to have for happy living. Consider the size of the animal, its need (temperature, humidity, feeding), available space, safety (bulbs should be secured so animals cant touch it, if the terrarium needs to be very humid the electrical parts should be outside), etc. If floor heating is needed, the front panel should be higher.
Material:
- – 3x20mm and 3x10mm screws for wood (for assembling wooden frame)
- – Silicone seal (for sealing the inner edges to make the frame waterproof)
- – Wood glue (for gluing wooden pieces together before assembling and screwing them together)
- – Water based Acrylic varnish (for the wooden frame)
- –
3 wires cable (for electricity) - – Two switches (one for UVB neon light and the other for heating spot bulb),
- – Ceramic bulb holder (for the heating spot bulb),
- – Two furniture brackets (for lamp holder stand),
- – Timer (for regulating light),
- – Stand for the UVB light (which should be positioned 50cm from the floor)
- – Styrofoam (for the water and food corners)
- – Water based gray acrylic paint (for the Styrofoam)
- – 4 rubber feet (for the frame)
- – Water resistant plywood (for the frame but be careful not to use cedar or pine as these are not suitable for reptiles)
- – Plexiglass and a suitable glue for it
Tools:
- – Hacksaw
- – Pliers
- – Brush
- – Sand paper
- – Rasps
- – Drill bits (3mm screws and 6mm for vents)
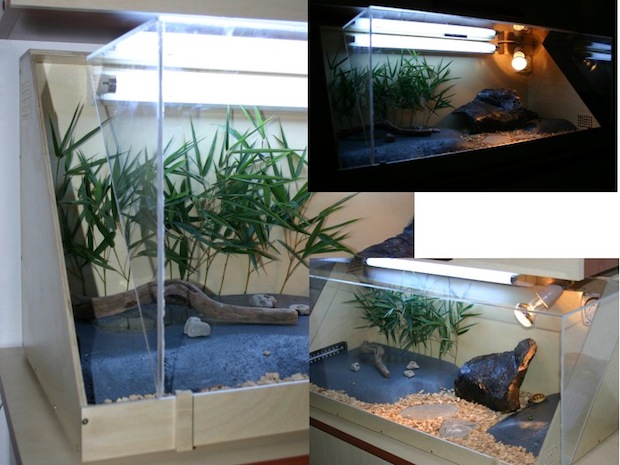
I first assembled the wooden frame. The pieces were cut in the local workshop. Before screwing pieces together I glued the edges. I applied 4 layers of acrylic varnish and sealed the inside edges with a seal (use as little as possible). I also glued three wooden holders (upper and front panels) to hold the plexiglass cover. At the bottom of the terrarium are 4 rubber feet. I drilled holes on the sides (diagonally) for the vents for ventilation. I also drilled some holes behind the UVB (neon) light for cooling it easily.
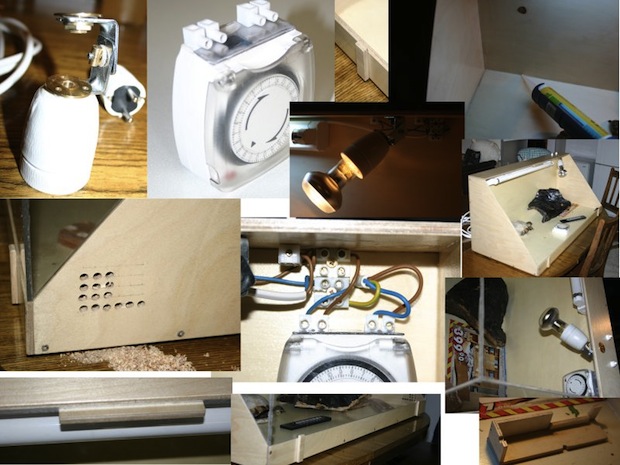
The
electric timer was cut in half (I did not need the jack and I needed it
as small as possible). I put on the wire connectors and covered the cut
with a piece of plastic. Electricity is connected to the timer first, from where it goes to the switches and than bulbs. I used two furniture brackets for the stand of the ceramic bulb holder. The holder can be moved around and pointed to achieve the needed temperature in a desired place. All the cables are covered with a wooden box.
The plexiglass was also cut at the local workshop. They
also gave me the special glue for plexiglass (which doesn’t make it
white and ugly like super glue). I wanted my edges to be sharp and did
not want to bend them (which, to tell you the truth, would be much
easier). For gluing I used an injection which I bought in the pharmacy.
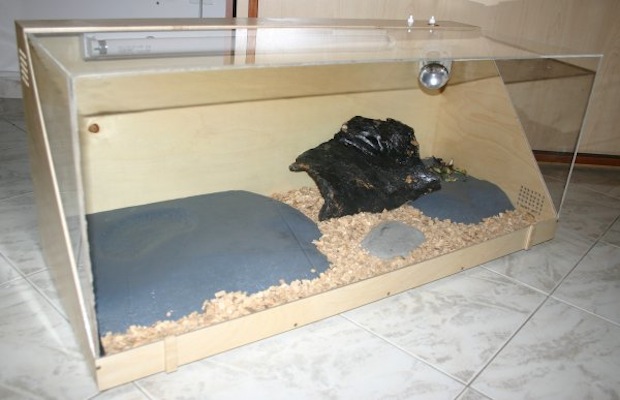
The glass was not an option as it is much heavier. The cover can be
taken off for easy cleaning or moved to the side for feeding and adding water. The total weight of the cover is less then a kilo.
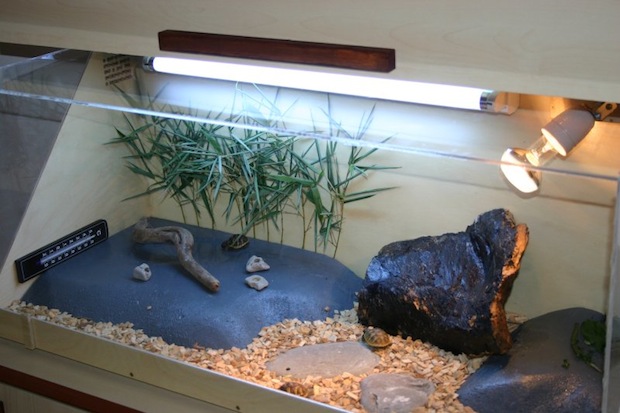
The
interior has four areas. The food area is in right corner, the water area
in the left corner while in between are wooden chips and stones. The food and
water parts are made of a type of styrofoam which were shaped with rasps and sand paper and then painted with the gray paint to give them a stony look.

In the last few posts we have shown videos of possible PIM of the future: Apple’s personal assistant from 1987 about life in 2011 Sun’s Starfire concept from 1994 about life in 2004 and Virtual reality PIM from 2002 In 2009 Microsoft publishe