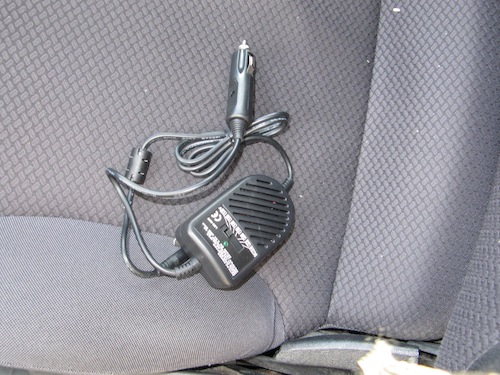
We just finished a long trip across the Europe with kids. As I wanted to make the trip a pleasure for all as much as I could, I thought ob buying a video player, so kids could enjoy their cartoons during the long hours of the voyage. I almost bought an Aluratek APMP100F (which is a nice device), but a friend of mine said that he would rather have a computer in a car (in his opinion video players have limited features and a laptop can be used for games, internet and other things). I decided to give it a try as others did. I bought an universal laptop car charger for £4 and was good to go.
But one hour before starting our trip I also decided to make a stand for it. I wanted the laptop screen be visible to everyone sitting on the back
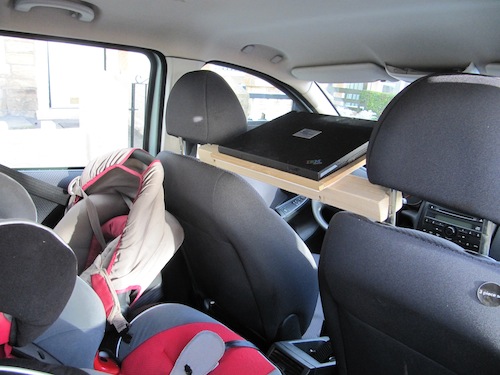
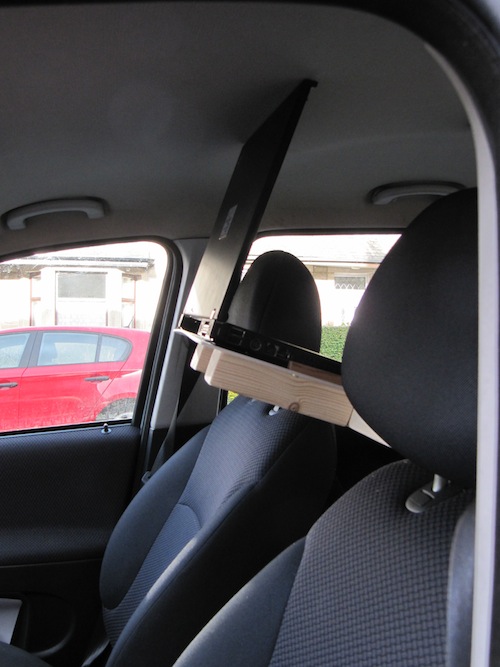
seat and I also wanted the screen to be as far away as possible. Keep in mind that this is one hour project and there is a (LOT OF) room for improvements (due to the time limit I also used only materials I had in the house). Nonetheless it was a big success (kids had over 30 hour of cartoons which could be simply navigated with P and N keys or paused with a space key) and it took a lot of attention of passing cars and people we meet on the way :). The sand is not in the way (shoulders and head can be freely moved), I could talk to other passengers and I had a view on the back seat as well (between the laptop screen and head support). But bear in mind that the view in the windshield mirror is obscured (not all of it but still …).
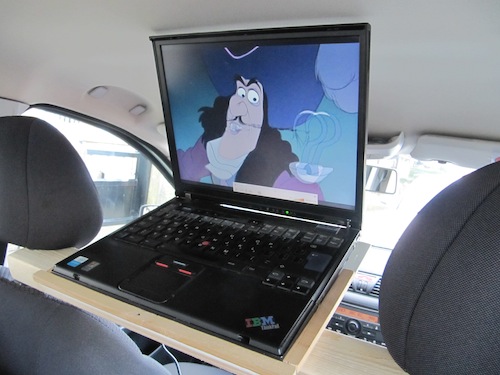
Things to consider from the safety point of view:
- The handle on which the stand is screwed has to firmly stand between head supporters! Be ensured that moving car seats won’t affect this!!
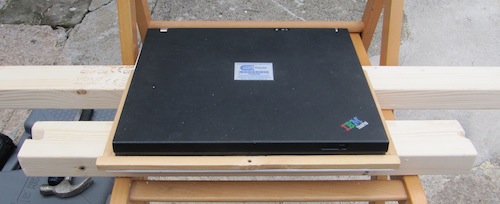
- The laptop has to be tightened to the stand (I used a tiniest climbing rope which is not shown on the photos)
This way the laptop won’t fly around the car in case of fast and hard breaking!!!!
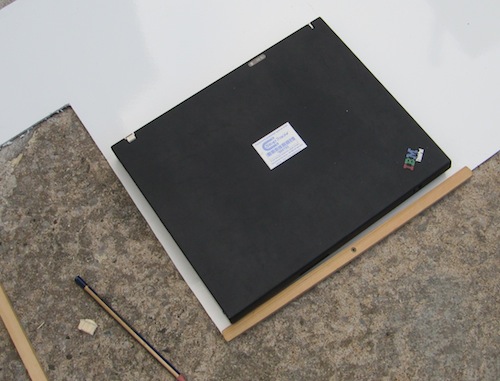
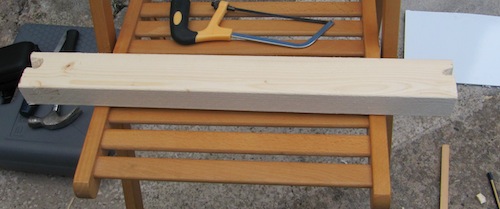
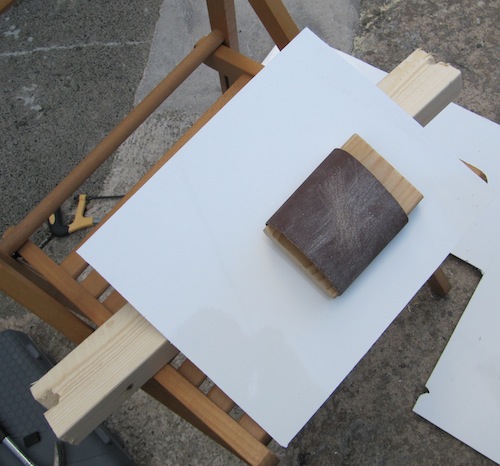
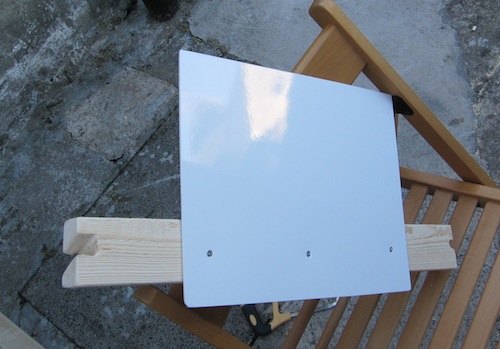
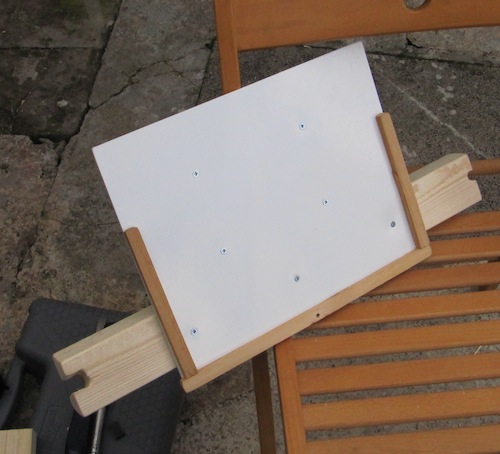
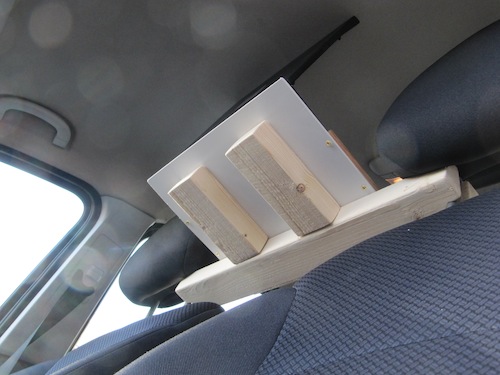
1. Cut the base for the laptop to stand on (I used a piece of PVC wall panel from a local workshop) and the main handle (I used 4cmx3cm pine trim) which has to fit between the stands of head supports of car front seats. Drill two sidewise holes on each side of the trim so the base will be inclined when screwed to it.
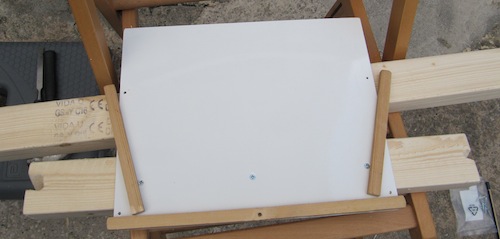
2. Cut the side small trims to put around the laptop so it will not move forward and sideways.
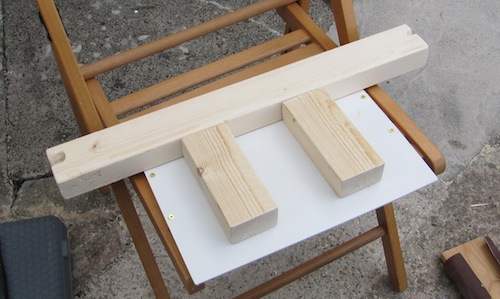
3. Harden the stand with additional trims on the bottom.
5. Fit it in a car. Take one head support of, put the stand in place and put the head support back.


2 Responses